In this lesson, you’ll create a scenario that taps multiple buttons in sequence.
You will learn:
✅ How to copy and reuse steps
✅ How to adjust the execution time and wait time of steps
✅ How to change the order of steps and loop playback
📥 Download the prepared scenario
(optional – for reference or comparison)
If you haven’t completed Lesson 1, follow steps 1–3 in that lesson to create a scenario and add a tap step for Button A.
If you’ve already completed Lesson 1, you can copy that scenario and rename it to “Lesson 2.”
1. Create the Scenario
Let’s create a new scenario to use in this lesson.
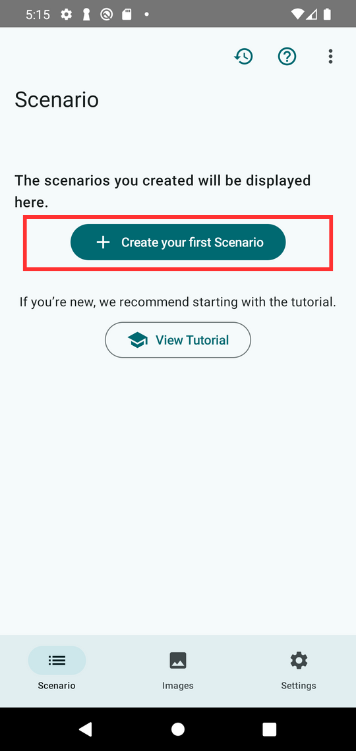
If this is your first time, tap “Create your first Scenario” in the center of the screen.
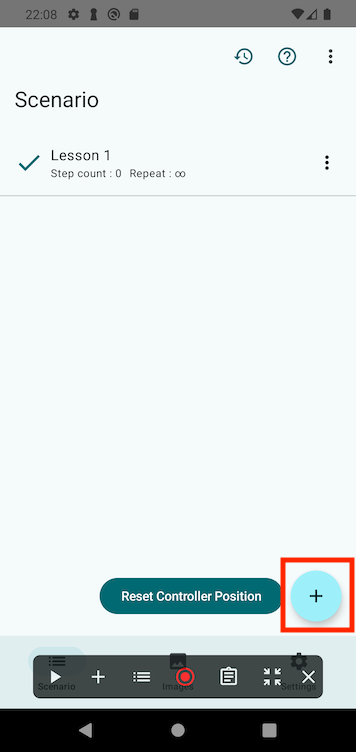
If you already have one or more scenarios, tap the + button in the bottom-right corner to create a new one.
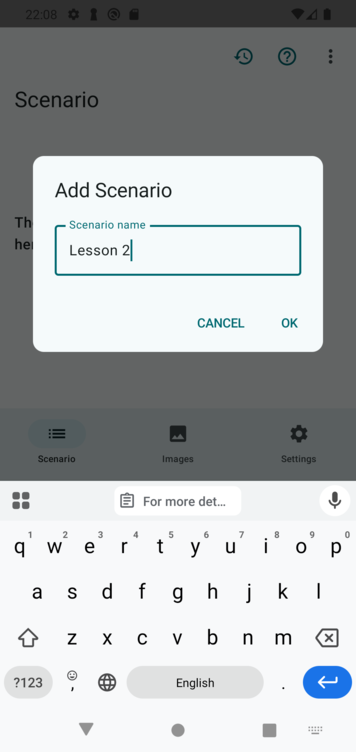
Give your scenario a name like “Lesson 2” and tap OK.
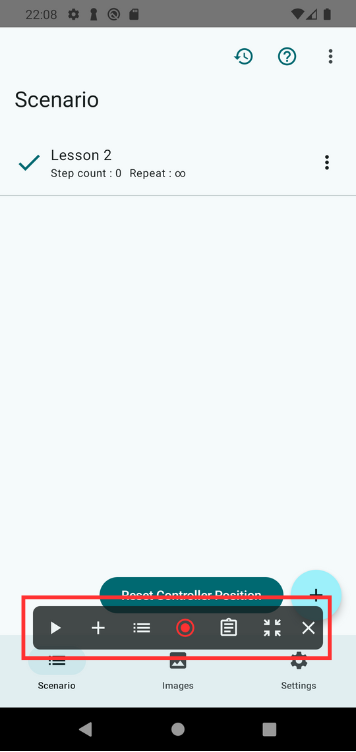
Once the scenario is created, a control panel called the Scenario Controller will appear at the bottom of the screen.
2. Open the Practice Screen
Open the practice screen from TapEzy’s settings.
In TapEzy’s settings, tap “Launch Practice Screens”, then select “Basic Tap”.

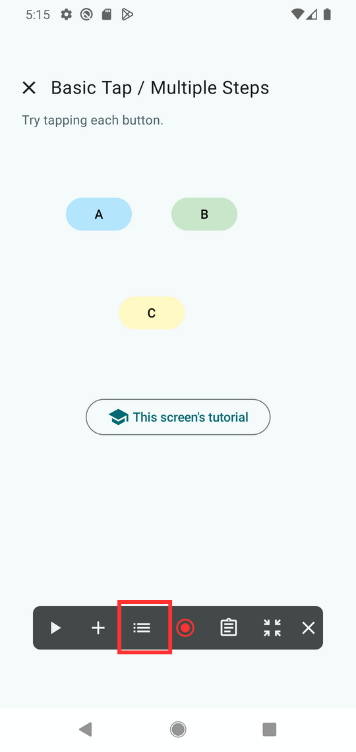
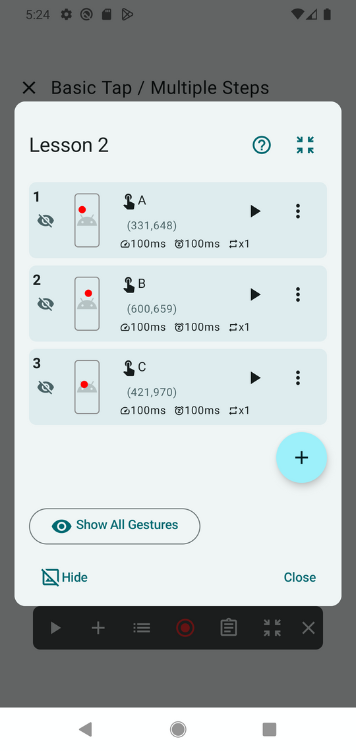
You’ll see a screen with three buttons labeled A, B, and C.
When you tap a button, a “Tapped!” label appears near it, confirming that the tap was registered.
Try tapping A, B, and C with your finger to see how it works.
3. Add a Tap Step in TapEzy
Now let’s add a step to tap Button A using TapEzy.
Tap the + button in the Scenario Controller, and select Tap.

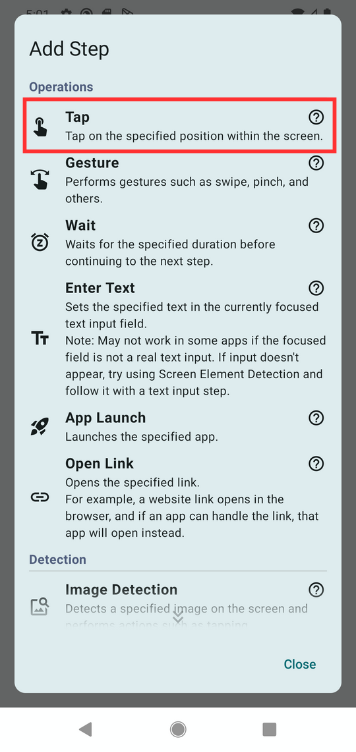
This opens the Tap Position Tool.
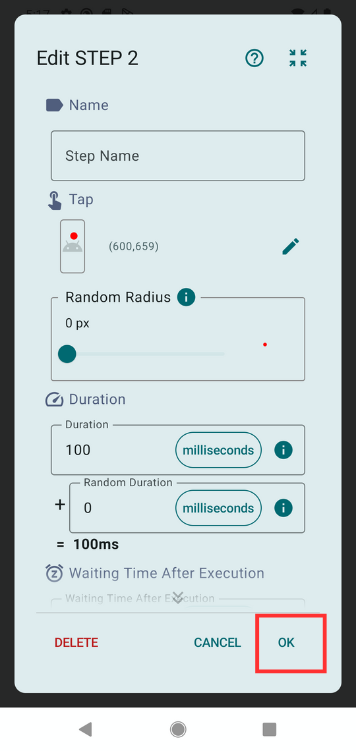
Tap Button A on the screen to set the position, then tap OK at the bottom to confirm.
Once the step is added, the step list will appear.
Make sure the new step is shown, then close the list by tapping Close.

4. Duplicate the Step
Let’s copy the step that taps Button A to create a step for Button B.
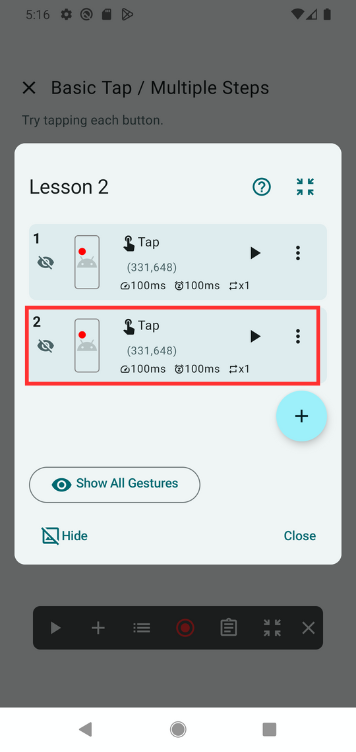
Open the step list from the Scenario Controller.
Tap the ︙ menu next to the A-tap step and select Copy.
Now you should have two identical steps (both currently tapping Button A).
5. Change the Tap Position
Let’s edit the duplicated step so it taps Button B instead.
Open the step list and tap the newly duplicated step to enter edit mode.
Tap the ✏️ icon in the “Tap” section to open the Tap Position Tool again.
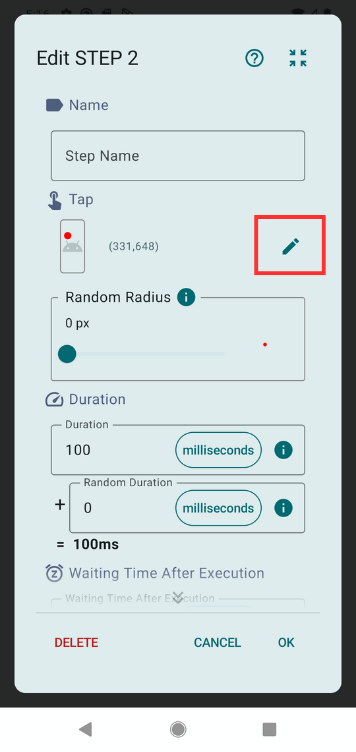
Tap on Button B, then tap OK to confirm the new position.
Tap OK once more to save your changes.
6. Test the Step
Let’s make sure the step for Button B works correctly.
In the step list, tap the ▶ button next to the B-tap step.
This will run the step once.

If the “Tapped!” message appears on Button B, everything is working.
If not, go back and adjust the tap position again.
7. Add and Edit Another Step
Now let’s repeat the process to add a step for Button C.
You can duplicate one of the existing steps and change its tap position to Button C, just like you did with Button B.
8. Play the Scenario
Tap the ▶ button in the Scenario Controller to start playback.
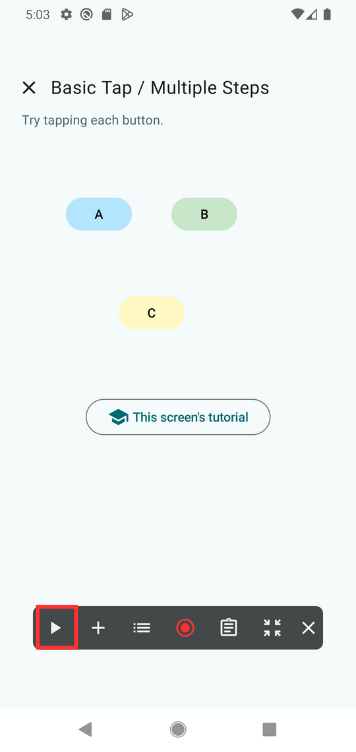
You should see TapEzy automatically tap Button A → B → C in order.
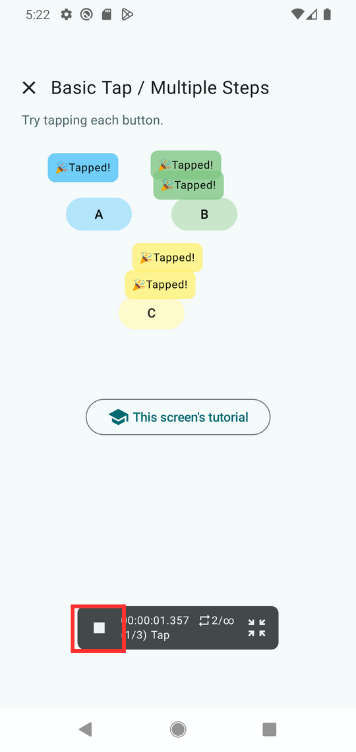
To stop playback, tap the ■ button.
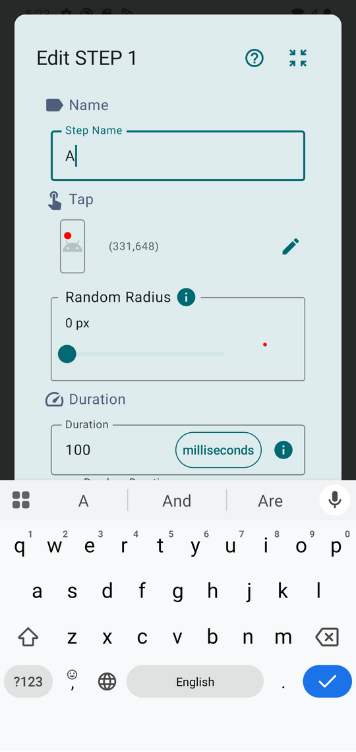
9. Name the Steps
Before we move on, let’s give each step a name to make them easier to identify.
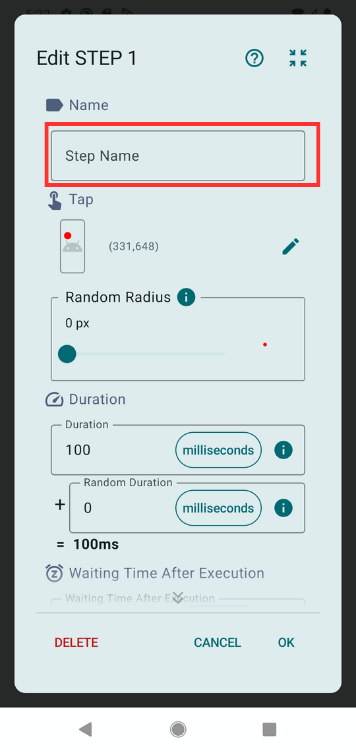
Open each step in edit mode and enter a name like A, B, or C at the top where it says “Step Name.”
Check that the names appear correctly in the step list.
10. Edit the Step Settings
Let’s edit the B step to try out some additional settings.
Open the B step in edit mode.
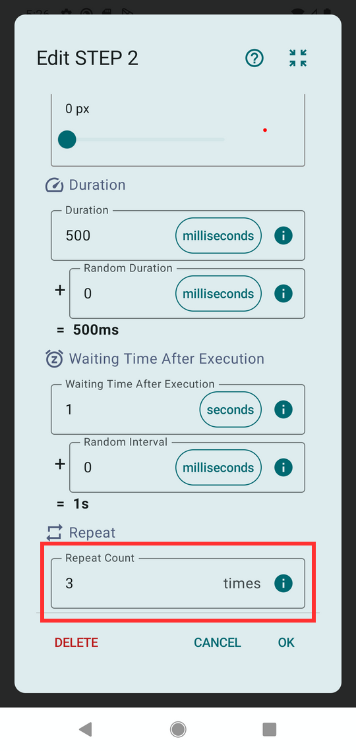
Set the following values:
- Duration: Set to 500 ms. This is how long the tap lasts.
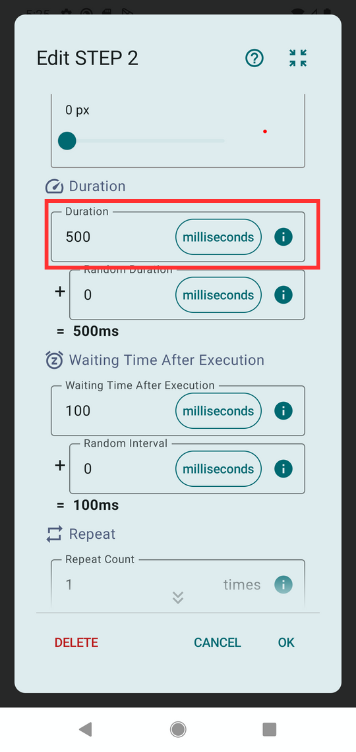
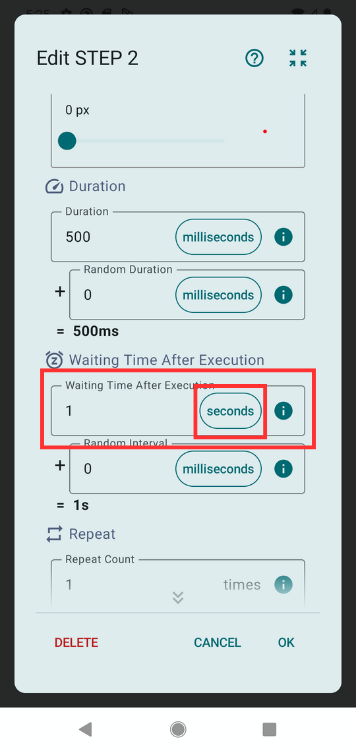
- Waiting Time After Execution: Set to 1 second.
ℹ️ You can tap the unit label (e.g., “ms”) to switch between milliseconds, seconds, and minutes.
- Repeat Count: Set to 3. This means the step will run three times.
Tap ▶ on the B step again to test the updated behavior.
11. Reorder the Steps
To change the tap sequence, drag and drop steps in the step list.
Let’s move C under A so the order becomes: A → C → B.
12. Change Scenario Settings
Let’s adjust the loop count for the entire scenario.
Open the Scenario List in TapEzy, tap the ︙ next to “Lesson 2”, and select Scenario Settings.
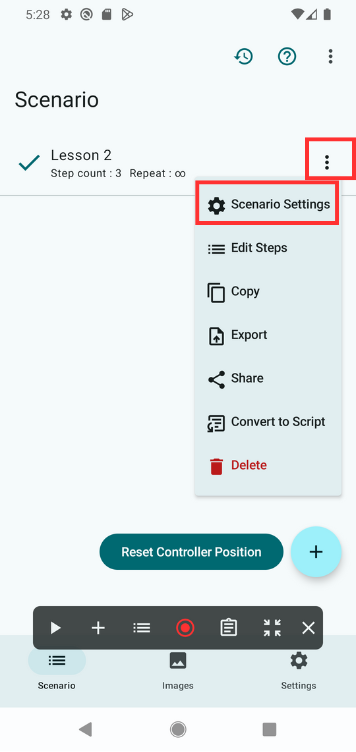
By default, the repeat is set to 0, which means infinite looping.
Change it to 2 so the entire scenario plays through twice.

13. Run the Final Scenario
Go back to the practice screen and run the updated scenario.
You should see the following sequence:
Tap A → Tap C → Tap B (3 times)
This sequence should repeat twice.
If the behavior doesn’t match, open the step list and review your settings again.
Summary
In this lesson, you built a multi-step scenario by:
- Copying and editing steps
- Adjusting step execution and wait times
- Renaming and reordering steps
- Setting a loop count for the full scenario
You’ve now practiced many of the essential features for creating automated flows in TapEzy.
📚For more details: